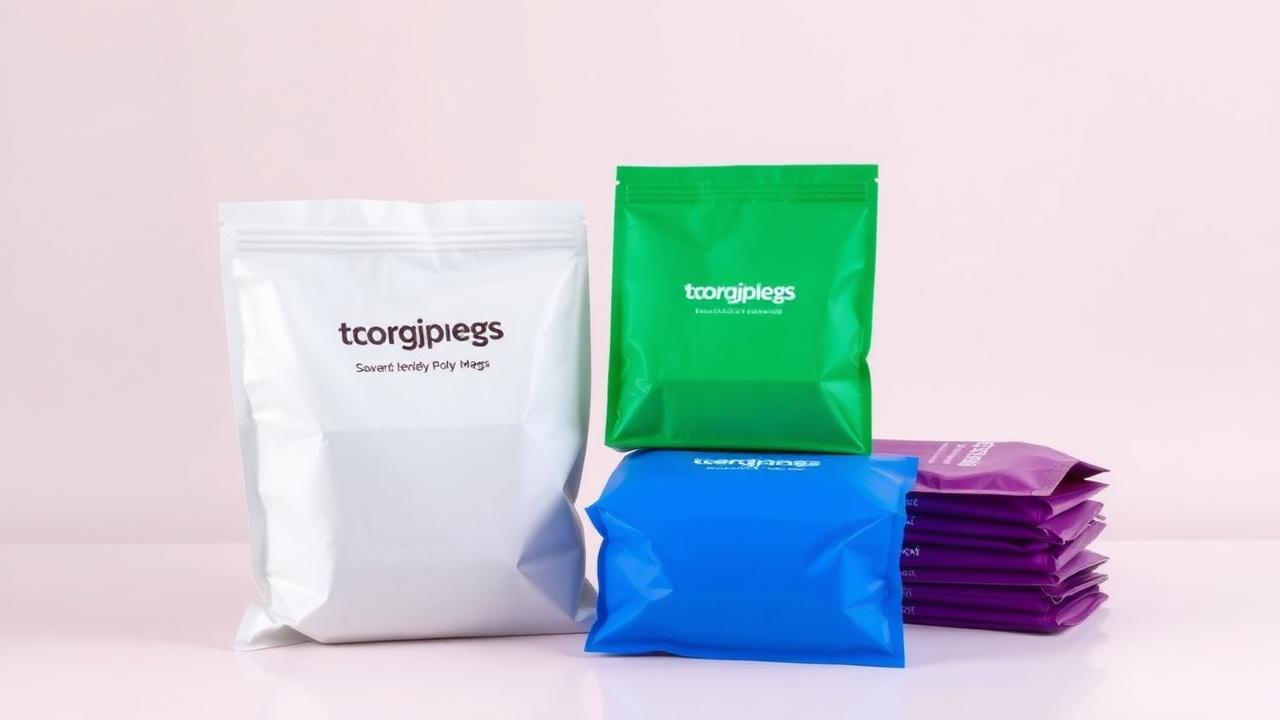
How to Design a Custom Mailer: A Step-by-Step Guide for E-Commerce Brands
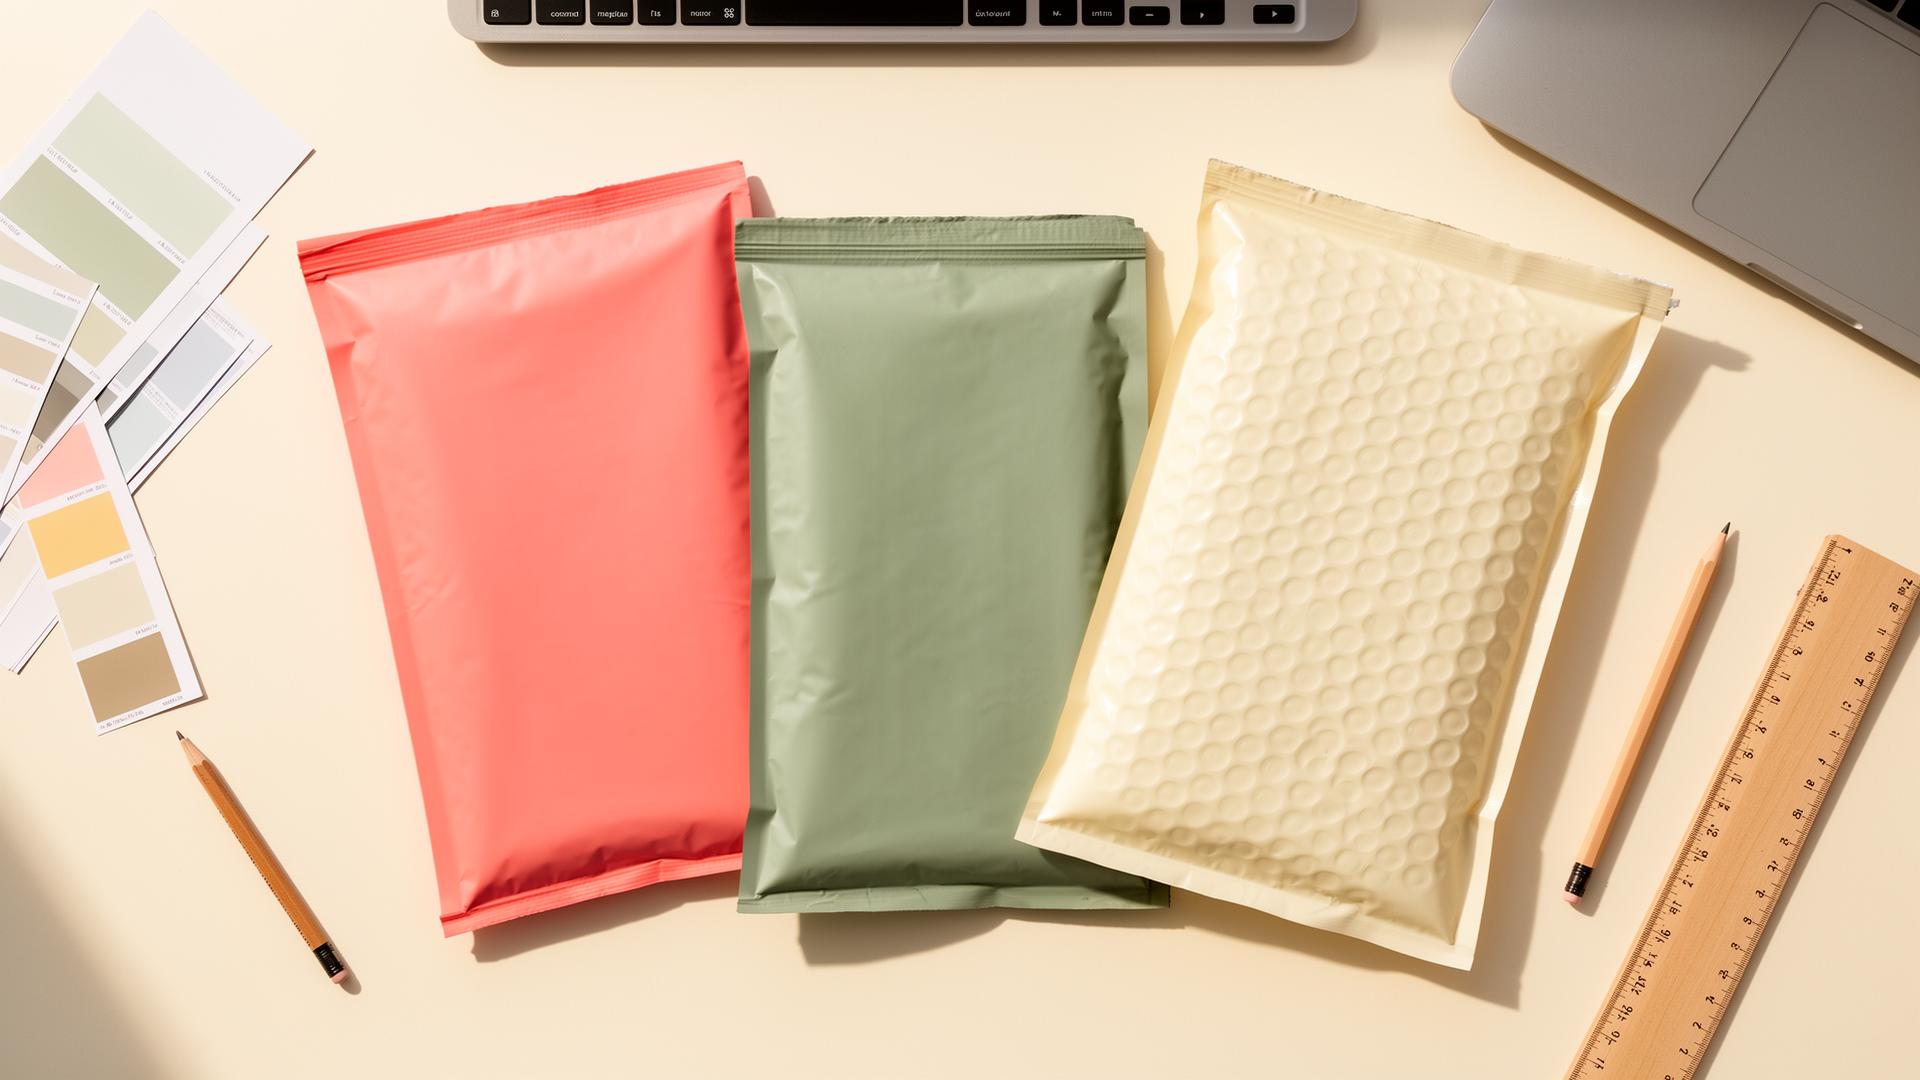
Your mailer is the first thing your customer touches. A well-designed custom mailer turns a routine delivery into an unboxing moment — and turns your shipping cost into marketing spend that actually works.
This guide walks you through every step of designing a custom mailer that prints cleanly, ships safely, and looks great on a doorstep. Whether you're working with a designer or laying it out yourself, the same fundamentals apply.
1. Pick the right mailer type for your product
Design starts with the substrate. The three most common formats:
- Poly mailers — lightweight, waterproof, lowest shipping cost. Best for apparel, soft goods, accessories.
- Bubble mailers — padded protection for fragile or small hard goods like jewelry, electronics, ceramics.
- Paper / kraft mailers — premium, recyclable, tactile. Best for beauty, food, and brands leaning into sustainability.
2. Get the sizing right
Order a mailer that's roughly 1–2 inches larger than your product on each side. Too tight and the seal stresses; too loose and the package looks sloppy. Common sizes:
- 6x9 in — jewelry, small accessories, sample packs
- 10x13 in — t-shirts, books, mid-size goods
- 14.5x19 in — hoodies, multi-item orders, larger apparel
- 19x24 in — bulky goods, blankets, oversized apparel
3. Build your artwork in CMYK, not RGB
Screens use RGB. Printers use CMYK. If you design in RGB, your bright pinks and electric blues will land 10–20% duller than your screen suggests. Set up your document in CMYK from the start — most jarring color shifts happen when designers convert at the end.
Note: due to the nature of flexographic and digital printing on mailers, a ±5% color variance is normal between batches. Choose brand colors that hold up under that tolerance.
4. Honor the bleed, safe zone, and seal area
Every printed mailer has three artwork zones:
- Bleed (0.125 in) — extend background colors past the trim line so no white edges show after cutting.
- Safe zone (0.25 in inside trim) — keep logos and text inside this area. Anything outside risks getting cropped.
- Seal / adhesive strip — leave this area blank. Ink under the adhesive strip can cause sealing failures.
5. Design for the doorstep, not the screen
Your mailer will be photographed by customers, seen by neighbors, and handled by carriers. A few principles that translate well to physical:
- Bold over busy. A single confident logo beats a cluttered repeat pattern in 9 out of 10 cases.
- High contrast. Dark ink on light mailers (or vice versa) reads from across the room. Tone-on-tone looks sophisticated but disappears in photos.
- Think in 2-second readability. If a passerby can't identify your brand in two seconds, the design is doing too much.
6. Use vector files, not JPEGs
Submit logos and type as vector files (.AI, .EPS, .PDF, or .SVG). Raster files like JPEG and PNG pixelate when scaled to mailer size. If you only have a raster logo, use one at 300 DPI minimum at the final print size.
7. Plan both sides — front and flap
The front gets the hero design. The flap (back, where the customer tears it open) is prime real estate for:
- A handwritten-style "thank you"
- Care instructions or unboxing prompts
- A QR code linking to a referral, review, or Instagram
- Sustainability messaging
8. Get a digital proof before production
Never approve a print run without seeing a digital proof at full size. Check: spelling, color match against a Pantone or hex reference, logo placement, bleed coverage, and that nothing important sits inside the seal area.
Free design checklist
- ☐ Substrate chosen (poly, bubble, or paper)
- ☐ Final size selected (1–2 in larger than product per side)
- ☐ Document set up in CMYK
- ☐ 0.125 in bleed added on all edges
- ☐ Logos and text inside the 0.25 in safe zone
- ☐ Seal / adhesive strip left blank
- ☐ All artwork supplied as vector or 300 DPI raster
- ☐ Front and flap both designed
- ☐ Digital proof reviewed and approved
Ready to design yours?
Skip the file prep entirely. Mailers HQ's online designer handles bleed, safe zones, CMYK conversion, and proofing automatically — upload your logo, pick a color, and we'll print as few as 100 mailers and ship them to your door. Or request a custom quote if you want help from our design team.